
Create an Event Planning Timeline That Actually Works
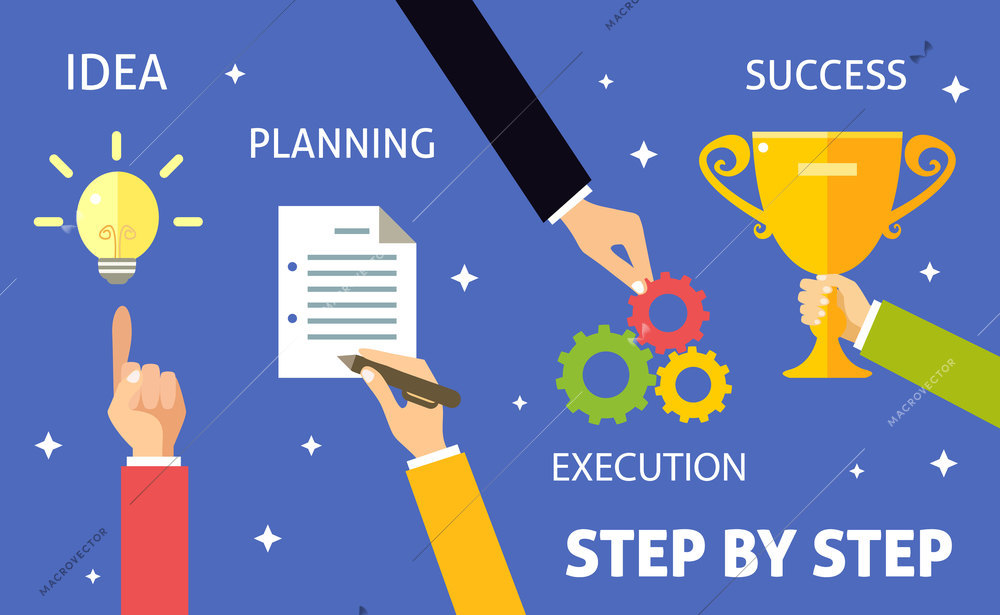
Planning an event isn’t just about booking venues and choosing menus—timing is everything. Without a solid timeline, even the best-laid plans can spiral into chaos. Whether you’re organising a corporate conference, an exhibition, a brand event or a party, a well-structured event planning timeline can be your secret weapon to staying on track, reducing stress, and delivering a seamless experience.
Here’s how to build a practical, no-nonsense timeline that actually works.
🧭 Step 1: Work Backwards from the Event Date
Start by identifying your event date, then work backwards. This reverse-engineering method helps ensure you’re not scrambling to finish major tasks in the final days.
Tip: If your event is on a Thursday, try to complete major tasks by the previous Thursday. This leaves room for unexpected hiccups.
📅 Step 2: Break It Into Phases
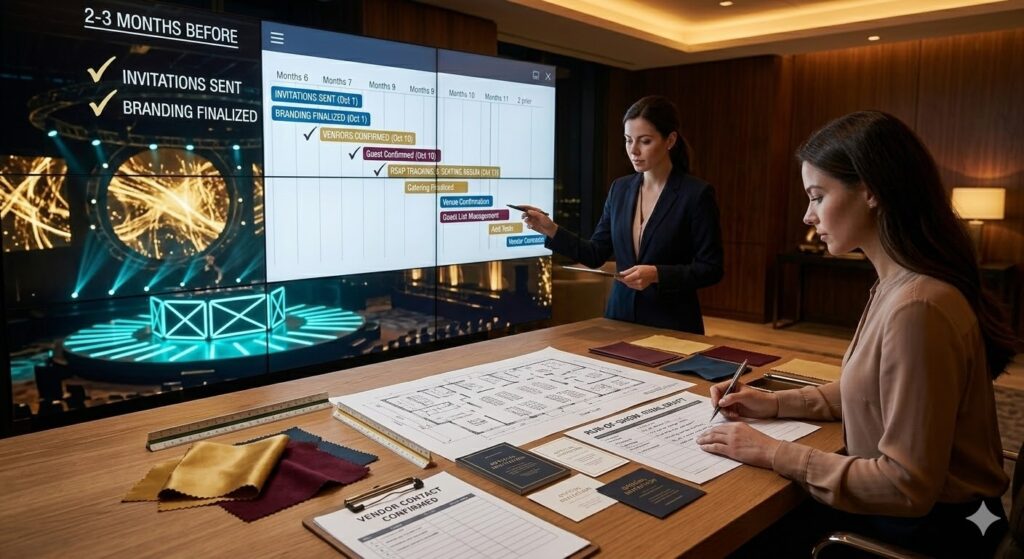
Divide the planning process into key phases:
✅ 6–12 Months Before (or ASAP)
-
Define event goals and objectives
-
Set the budget
-
Choose a date
-
Research and book the venue
-
Assemble your team or vendors (caterer, AV, florist, etc.)
-
Create a rough event schedule
-
Start guest list planning
✅ 4–6 Months Before
-
Finalise theme/design/decor
-
Confirm entertainment and speakers
-
Book accommodation (if needed)
-
Order save-the-dates or send digital invites
-
Plan the menu
-
Organise transport
✅ 2–3 Months Before
-
Send official invitations
-
Finalise event branding & signage
-
Confirm with all vendors
-
Begin seating or RSVP tracking
-
Plan run-of-show or event agenda
✅ 1 Month Before
-
Final walk-through of venue
-
Confirm headcount
-
Print programmes or signage
-
Pay final vendor deposits
-
Create emergency event kit
✅ 1–2 Weeks Before
-
Final confirmations with all vendors
-
Create a detailed timeline (down to the hour)
-
Share final schedule with team
-
Assign event-day roles
✅ 1 Day Before / Day Of
-
Pack supplies and backup items
-
Do a venue setup check
-
Host a pre-event team briefing
-
Relax and enjoy—you’re prepared!
🛠️ Step 3: Use Tools to Keep You Organised
Digital tools can make a huge difference. Consider:
-
Google Sheets for your master timeline
-
Trello or Asana for task delegation
-
Event-specific tools like Prismm or Social Tables for floor plans and guest management
Keep everything centralised and accessible by your team or clients.
🧩 Step 4: Factor In Buffer Time
Leave space for:
-
Delivery delays
-
RSVP changes
-
Creative approvals (branding, signage, etc.)
-
Staff illness or unavailability
Even the best planners need wiggle room.
🗣️ Step 5: Communicate the Timeline Clearly
A timeline isn’t helpful if it lives in your head. Share it with:
-
Clients or stakeholders
-
Vendors
-
Your team
-
Volunteers or event staff
Print it, email it, stick it on the wall—whatever works. Make sure everyone knows where they need to be and when.
Final Thoughts
Use your timeline as your project manager. By mapping out the planning process step by step, you’ll avoid last-minute panic, impress your clients, and pull off a smooth, professional event.
Related Posts

BAM Victoria: The Office Christmas Party Gets a Microphone
Every office has someone who knows all the words to ABBA. BAM Victoria gives them somewhere to prove it. For a Christmas party with more personality than any other, this…

Your Event Has Outgrown the Office. What Happens Next?
You have to borrow chairs from another floor. The meeting room is too warm, the people at the back can’t see the screen and lunch is being laid out beside…
The Death of the Boring Conference: What Delegates Expect in 2027
There was a time when organising a corporate conference meant finding a hotel with a large enough meeting room, putting rows of chairs in front of a stage and making…
Doing Circus Differently: The Story Behind Fête du Puck
Say the word “circus” to most people and they picture one of two things. Red and yellow stripes, sawdust and a ringmaster in a top hat. Or a giant arena…